
Add Spotify ‘Now Playing’ to Your GitHub Profile Readme, in 7 Easy Steps
Sprucing up my GitHub profile, a turorial


Cover photo by Alexander Shatov, Unsplash
GitHub’s profile readme feature is a personal favorite. It supports markdown making it flexible to experiment with media, check out an impressive one here. Found out you can make it even niftier and, in this post I'd like to show you how to spruce up your profile even more by adding and displaying your currently playing track on Spotify to your GitHub profile readme.
Why show your Spotify Now Playing?
Theoretically, absolutely no reason to, it’s more or less a subtle flex that could to a minor degree at least make your profile slightly more visually appealing, if you want it to. It's simply cool to me, a little vanity indulgence I suppose. Looking at the EQ effect go up and down on mine here amuses me.
How to Set It Up:
I forked this specific repo as I particularly like that it shows the track name, artist, album cover and EQ visual effect. I'll quickly explain here with 7 summarized steps how you could deploy the same. You could also go to the SetUp.md file and follow the instructions.
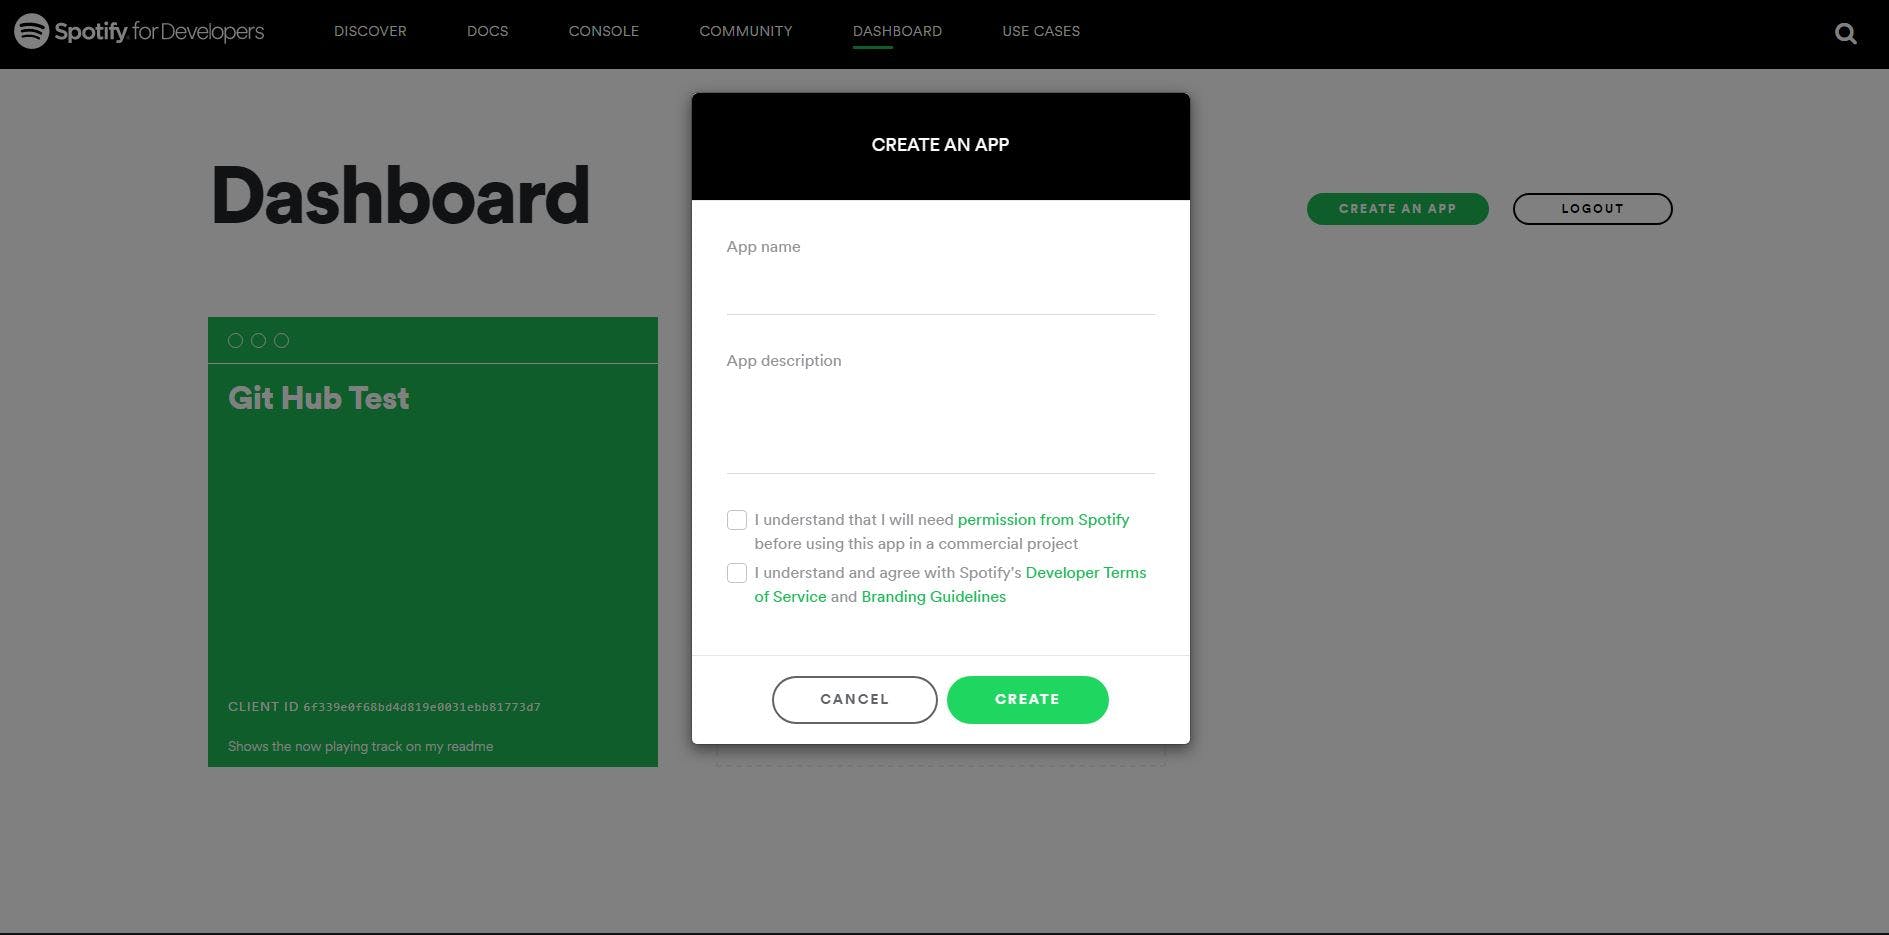
1. Go to Novac’s repository and fork it. Then go to Spotify for Developers and create application Name app whatever you like, put whatever description, agree to Terms of Service and CREATE.
2. Open notepad or any note-taking application to copy and paste as we will be doing so several times along the process to keep track of a bunch of items.
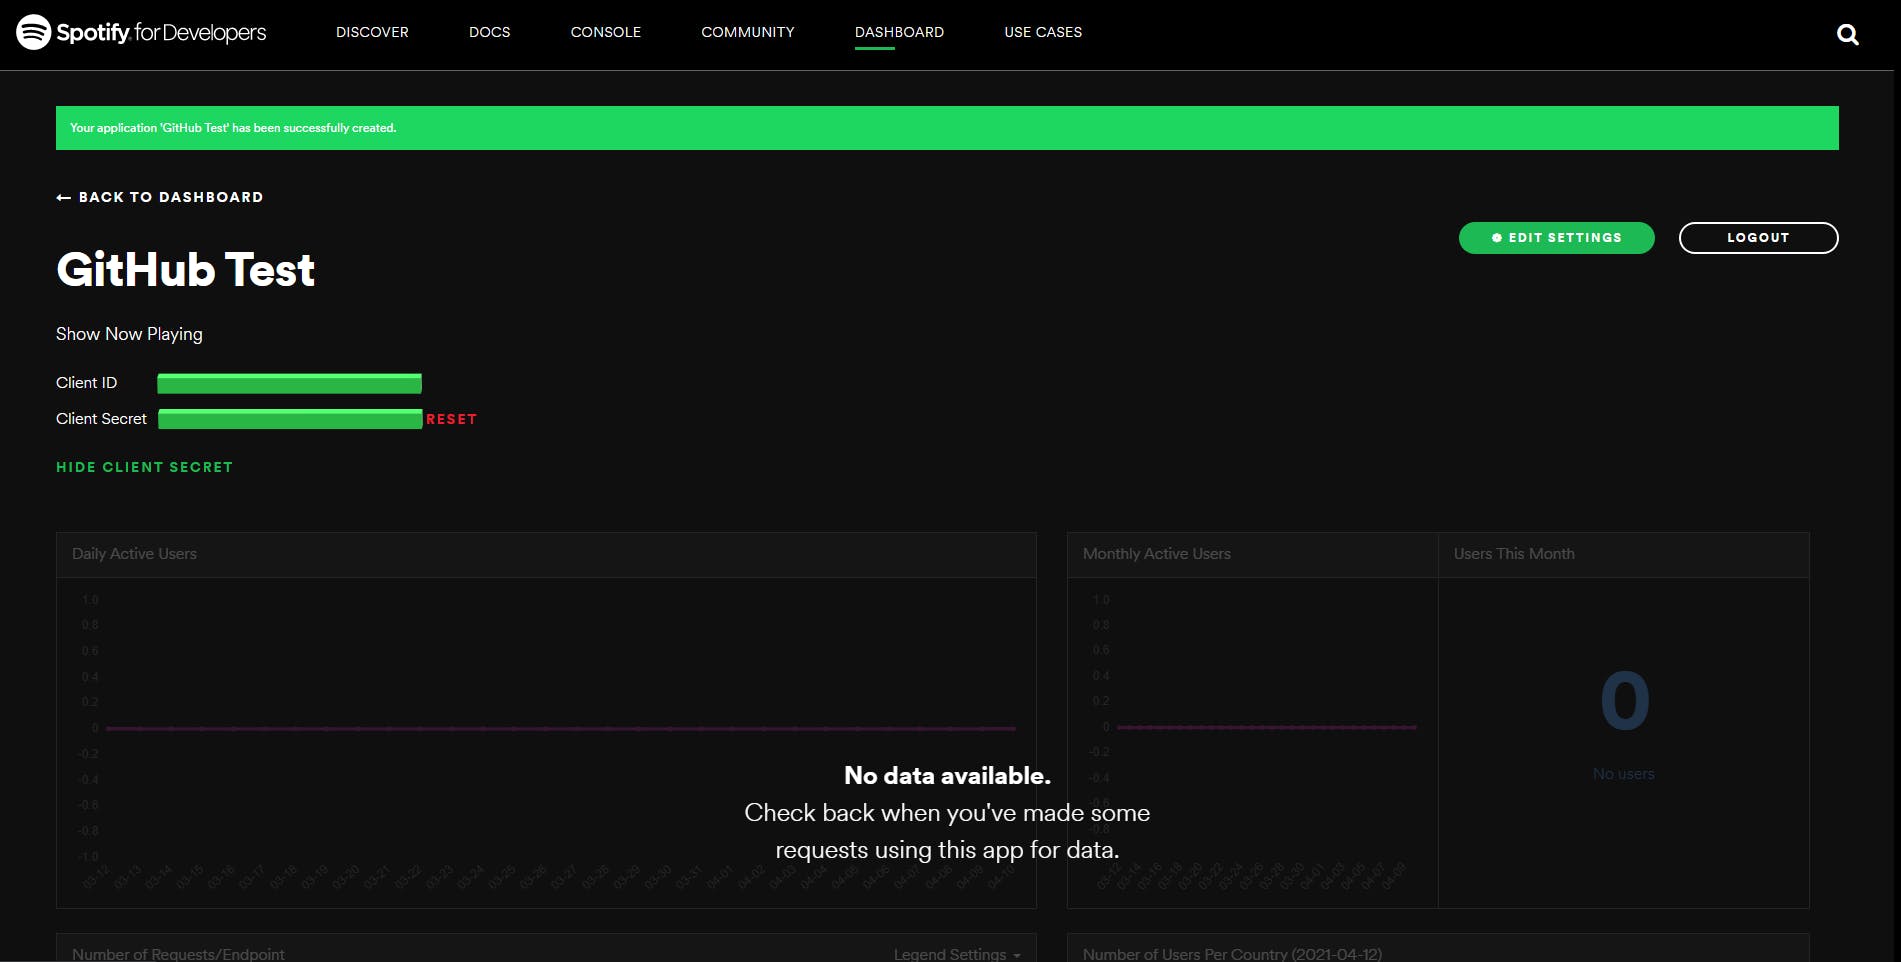
3. Separately, copy and paste the Client ID, and the Client Secret, click on Edit Settings, under Redirect URIs, paste http:/localhost/callback/ and click ADD. Save at bottom of page.
4. Copy URL under Refresh Token from SetUp.md, replace SPOTIFY_CLIENT_ID with your client ID that you copied elsewhere. Paste and enter, authorize your application.
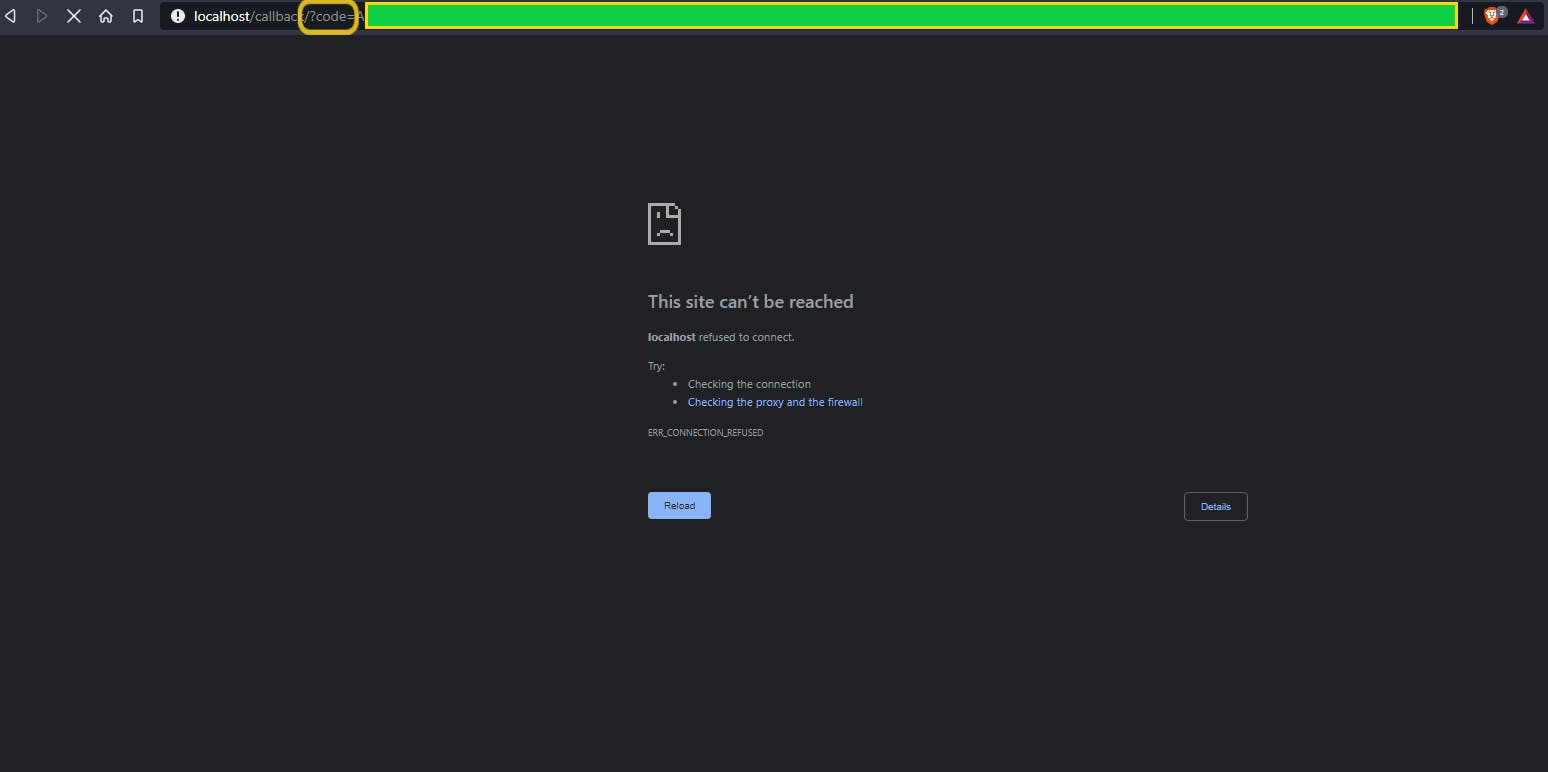
5. The page returns empty “localhost refused to connect” but what we need can be copied on the url address after /?code. Copy separately to a notepad as well.
6. Get Base64 encoded string. Do this by combining the Client ID and Client Secret copied earlier, separated by a colon (:) in the Encode bar and copy the output from the Decode bar). Once done copy and paste curl into notepad so as to amend the encoded string into curl where it says BASE64. Copy & paste the code from number 5 above, where it says CODE.

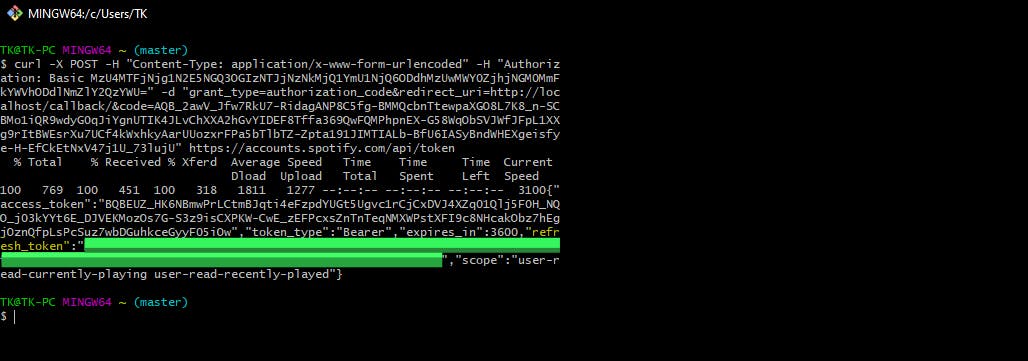
7. Open Git Bash and paste the curl and run it. You will receive back an access token and a refresh token. Copy refresh token and paste separately in notepad label “refresh token” just to keep track and not mix with the rest.
Creating a Vercel instance:
Once you head over to Vercel:
- Register / Sign in.
- Import project linked to your repository on GitHub.
- Add Environmental Variables which will include the refresh token just copied from Git Bash.
- Deploy!

Only thing left to do now:
Copy and paste the markdown under the ReadMe section of SetUp.md into your readme.
Be sure to replace USER_NAME.vercel.app with any of the domains under your vercel deployment and paste into said portion of the url, as well as replacing USER_NAME at the end of the url with your Spotify user ID, to enable click to open a page to your Spotify profile.

Done!
Congratulations you have added your Spotify Now Playing to your profile readme!

If you haven’t created a profile readme, check out the official documentation on GitHub to see how to set up one too. Catalin Pit just also recently published an article on how to create a kickass page as well. For inspiration, here’s a sizeable compilation of snazzy profile readme repositories to check out.
Hope you found this guide somewhat useful and like the new look of your profile readme.
This is my first article on Hashnode and my first attempt at technical blogging, your feedback and comments on how to improve in any way will be greatly appreciated. Thanks for reading!